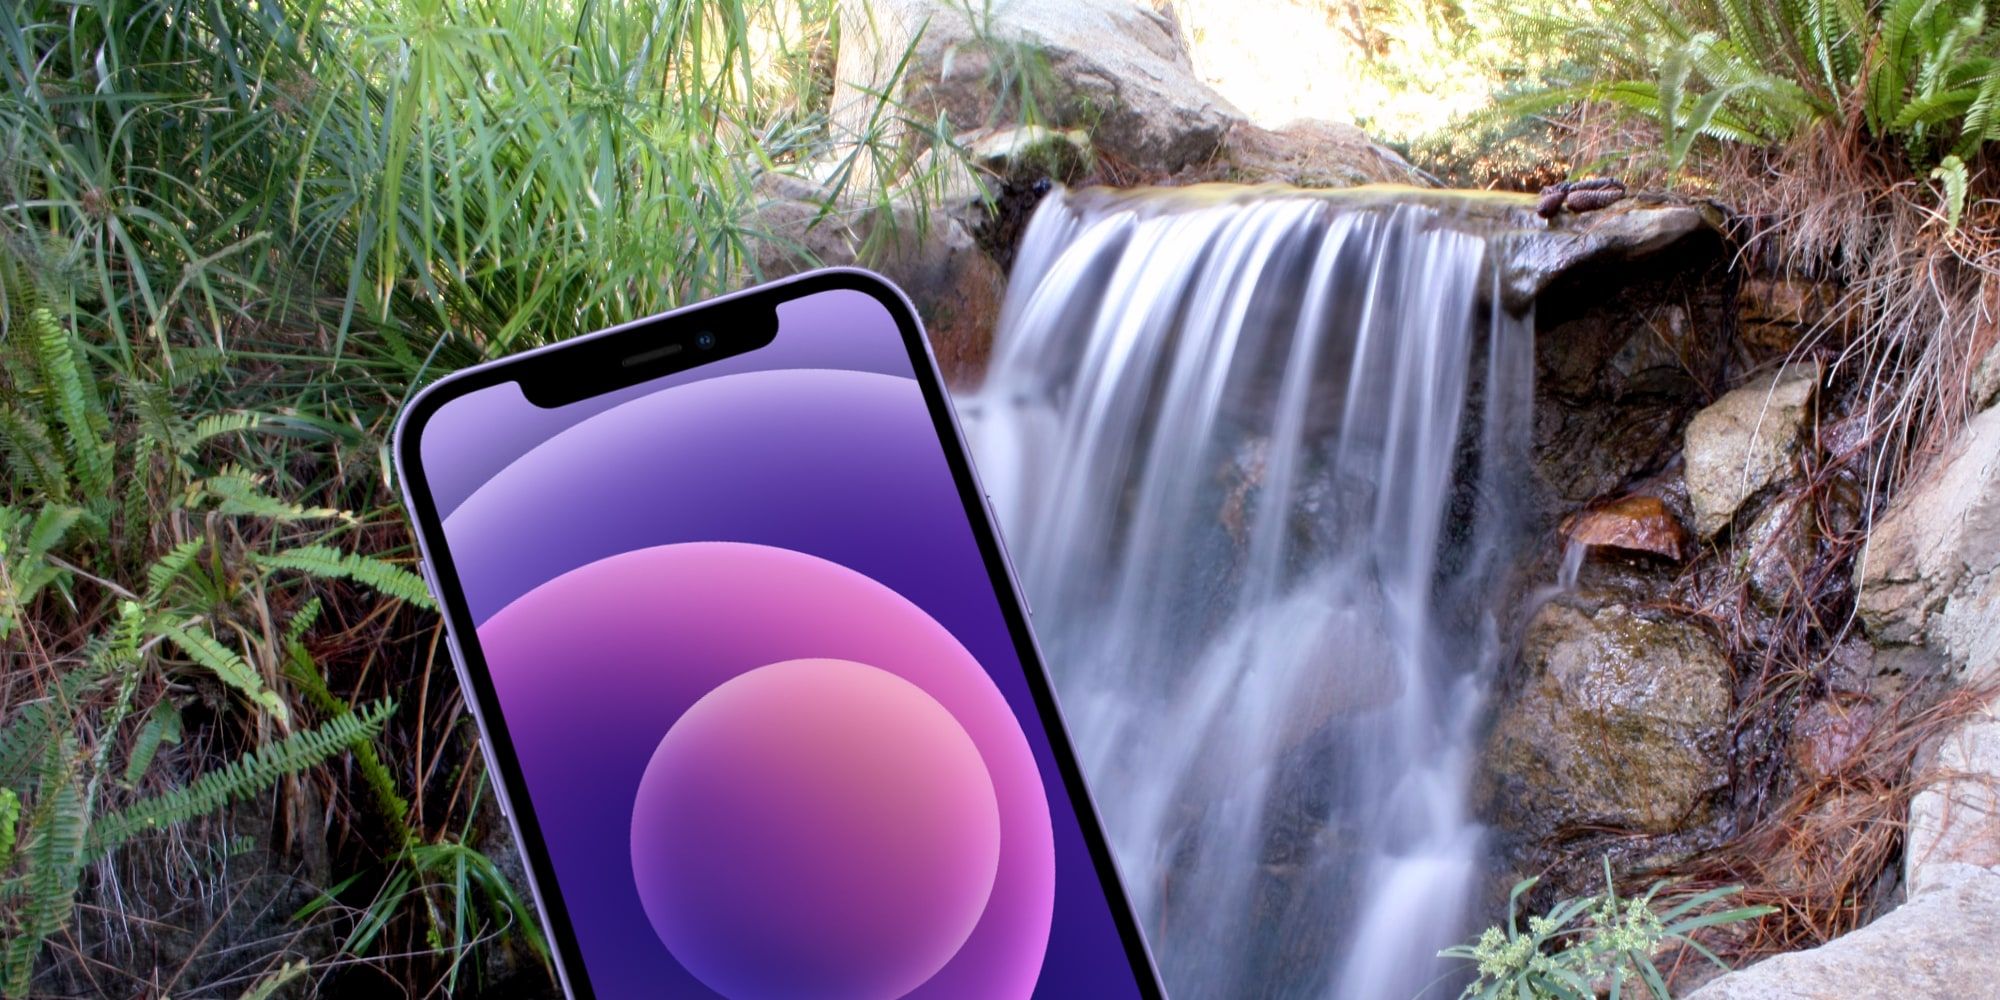
Apple‘s camera app is designed for ease of use and makes taking great pictures simple, but there are some advanced iPhone tricks that are somewhat hidden. One of the most impressive and little-known features is the ability to capture long-exposure photographs. This is most effective when the camera and subject are kept very still, since anything in motion will have a motion blur.
The iPhone has several specialty modes and the method of accessing most of these operations is obvious, such as time-lapse, slow-motion video, and panorama, which are clearly labeled near the bottom of the camera app. One of the coolest features happens automatically. With every photo snap, a bit of video is recorded before and after the actual button press. This allows the photographer to capture a moment even when the shutter clicks a moment too late or too early. A different primary photo or ‘Key Photo,’ as Apple calls it, can be selected by editing the photo and choosing a different frame from the filmstrip that appears after tapping the ‘Live Photo’ icon.
Apple provides an option for long-exposure photos in its iPhone camera app, but this feature might be difficult to find the first few times. This is because it isn’t a special mode like time-lapse or slow-motion. Instead, a long-exposure photo is captured just like any other photo, as long as Live Photo is enabled. After snapping a picture, it can be reviewed by tapping the thumbnail. At this point, there are two different ways to get to the long-exposure option depending on whether the user has the current version of iOS or the public beta of iOS 15. For most iPhone owners, swiping upward will reveal the Live Photo effects and long exposure is one of the options. Tapping it will process the video captured along with the photo into a single image that combines all of the frames. For anyone using iOS 15, there will be a Live Photo menu at the top left of the photo to access the effects without the need to swipe up.
Reasons To Use Long-Exposure & Troubleshooting
Long-exposure photos can be captured with an iPhone by snapping a regular picture and using Live Photo effects. This is great for artistic light trails when taking photos at night, making car lights stretch out and wobble. It also allows glassy, smooth photos of streams and waterfalls. Ghostly effects are possible if a person moves slowly within the photo while the camera remains still. Long exposure photos can also be used in a scientific way to see the distance of some physical movement in a single image. While this is a nice feature provided by Apple and clever use of Live Photos, it is quite limited when compared with what is possible with manual control camera apps that are available in the App Store. Many competing third-party apps allow setting the length of exposure as well as controlling exposure levels and the focus distance.
If long-exposure isn’t working, it’s a good idea to check that Live Photo is enabled. In the camera app and on photo mode, swiping up will show options for the flash, exposure adjustments, Live Photo, and more. The Live Photo icon looks like a dotted circle surrounding two solid circles. Tapping the icon will show the options for ‘auto,’ ‘on,’ and ‘off.’ The default setting is auto which lets the iPhone decide when to take a photo that includes a short amount of video before and after. To specifically experiment with this feature, it’s best to switch this ‘on’ to ensure a Live Photo is captured. Long-exposure photos are a creative way to snap a photo that either reveals time as motion or appears to smooth it to a standstill, depending on the subject. The iPhone’s Live Photo feature allows quick and easy access to this capability, but for anyone looking for more control, check out the various manual cameras that are available on the App Store.
Source: Apple
About The Author
